Thanks to a helpful coincidence in work travel, I was able to make a trip to Pagosa Springs, Colorado to see my parents for a few days. While planning my stay, I decided I also wanted to add some solo backpacking to my visit. My first plan was to hike the Lime Mesa trail to Emerald Lake in the Weminuche Wilderness, but while the stretch from the trailhead to the overlook is well documented, I had trouble finding information about the trail down to the lake itself. With the overlook portion sitting well above tree line, I realized I did not want to be caught there during one of Colorado’s infamous afternoon monsoons – especially given the lightning danger. I would be taking on a lot of risk if I couldn’t make the supposedly tricky descent down the unmaintained trail to the lake before lunchtime.
Thankfully, I had a good last-minute recommendation from my mother and one of her friends to switch my plan to Quartz Lake in the South San Juan Wilderness instead. The trail to the lake is well documented, and it had just as much scenic promise as the original plan. Even though I had never been to the lake, I had previously hiked a portion of the trail as a day hike – a plus because I knew what I was getting myself into. After some quick map reading, Google Earthing, and GPS checking, I locked in my plan and set out the following morning.
The Hike
The trail starts at the Little Blanco Trailhead on FS 665 east of Pagosa Springs (locals call this the “Quartz Ridge trail” instead). It climbs sharply over 2,000 feet up a number of switchbacks, before reaching a relatively flat portion that allows for some recovery before the final ascent up a rocky and crumbly trail to the “window” – so called because it’s a narrow cut in the ridge where you can see stunning views going east and west across the mountains. This is a popular stopping point for day hikers, and it’s the furthest I had gone on the trail previously.
A flatter portion of the Quartz Ridge trail heading up to the window.

Wildflowers were in full bloom on the trail up to the window in early August.

The final climb to the window is steep, rocky and difficult.
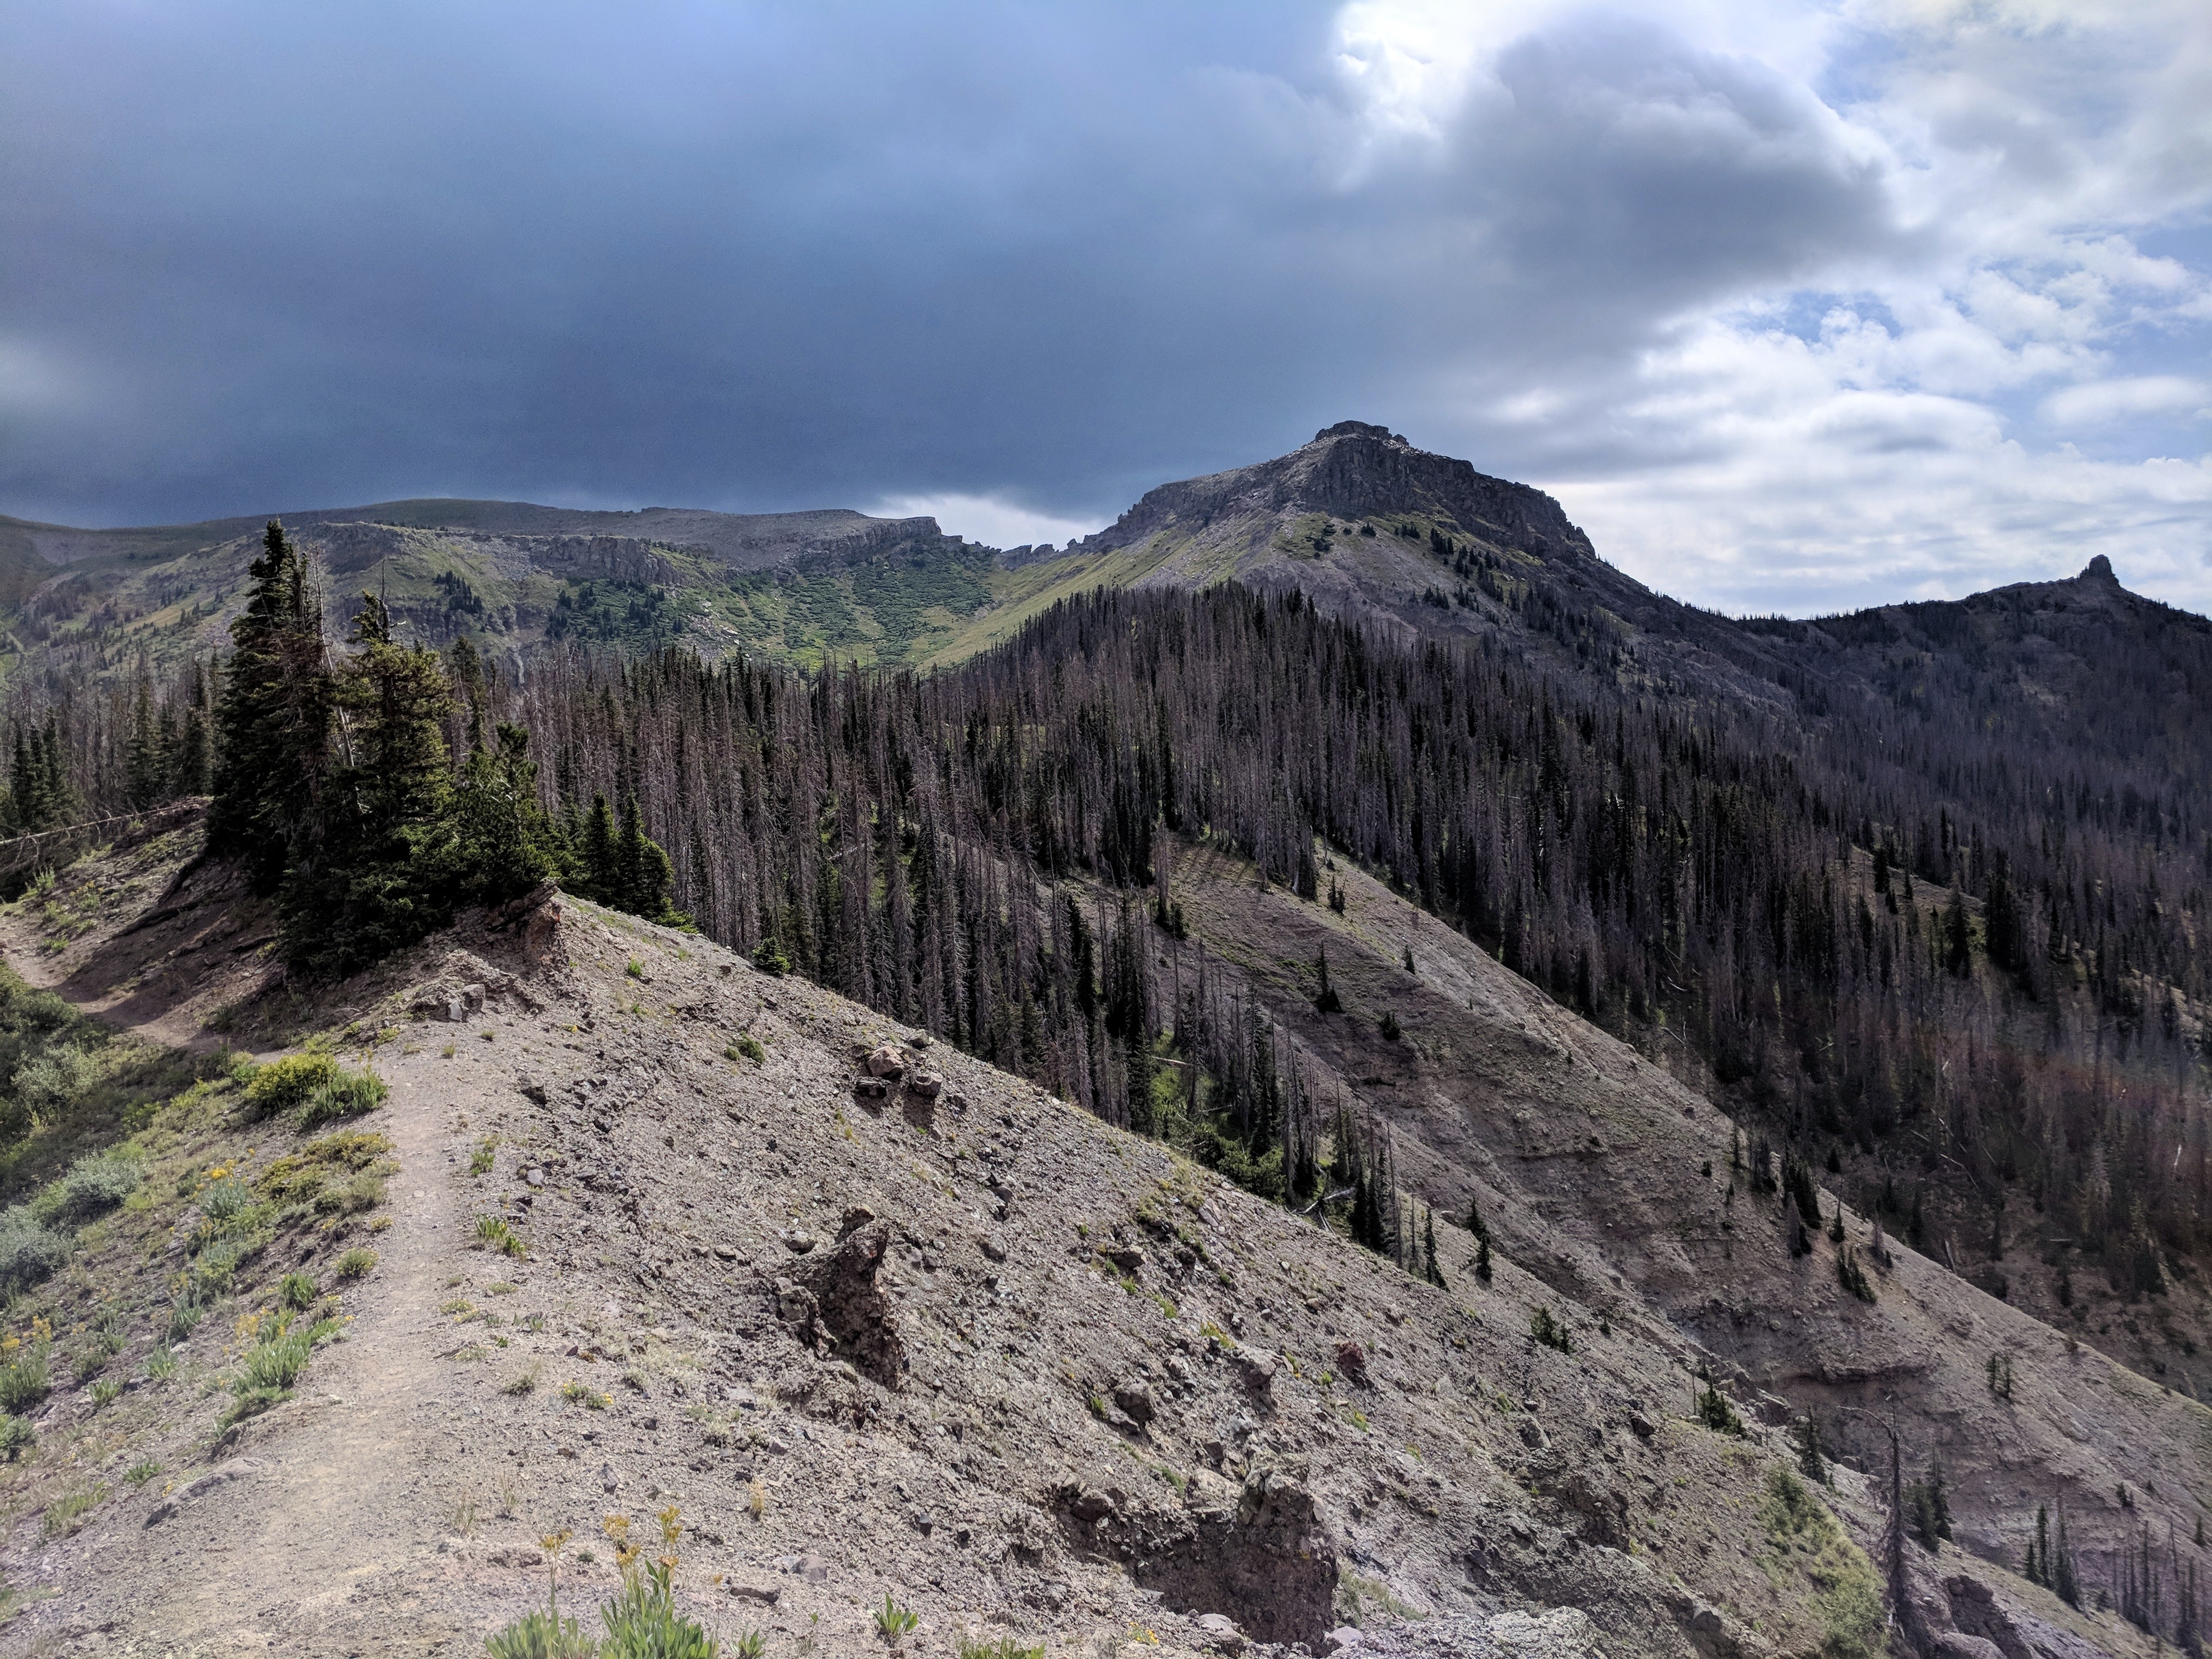
From the window, you drop down the backside of the ridge on some incredibly slippery and decaying trail surface. This short portion is the most dangerous part of the hike because slipping meant possibly falling off a cliff. After this, the trail climbs slightly to the high point on the hike (about 12,070 feet, only a little higher than the roughly 12,010 feet at the window) before eventually reaching a landmark that locals call “the bench.” Like the name implies, it’s a good sitting rock – making it a great place to stop, take off the backpack, and get some water. I was also told the bench is where the trail diverges to climb nearby Sand Mountain, and while that seemed geographically reasonable, I never saw the trail itself.

The view from the window is amazing and one of the highlights of the hike. The trail continues steeply down in the lower left corner of the picture.
From the bench, the trail drops slightly to a flatter and rockier section where it’s essential to keep an eye open for cairns to guide you across the rocks. The trail then forks – with one path heading to Quartz Lake and the other continuing as the Little Blanco Trail. I was warned about this spot because many years ago a hiker got desperately lost in the mountains for days after accidentally continuing on the Little Blanco Trail without realizing it. Fortunately, after many years of hikers passing through, the trail to the lake has become well walked and obvious, while the continuing Little Blanco Trail is much less visible. My GPS also confirmed I was on the right path.
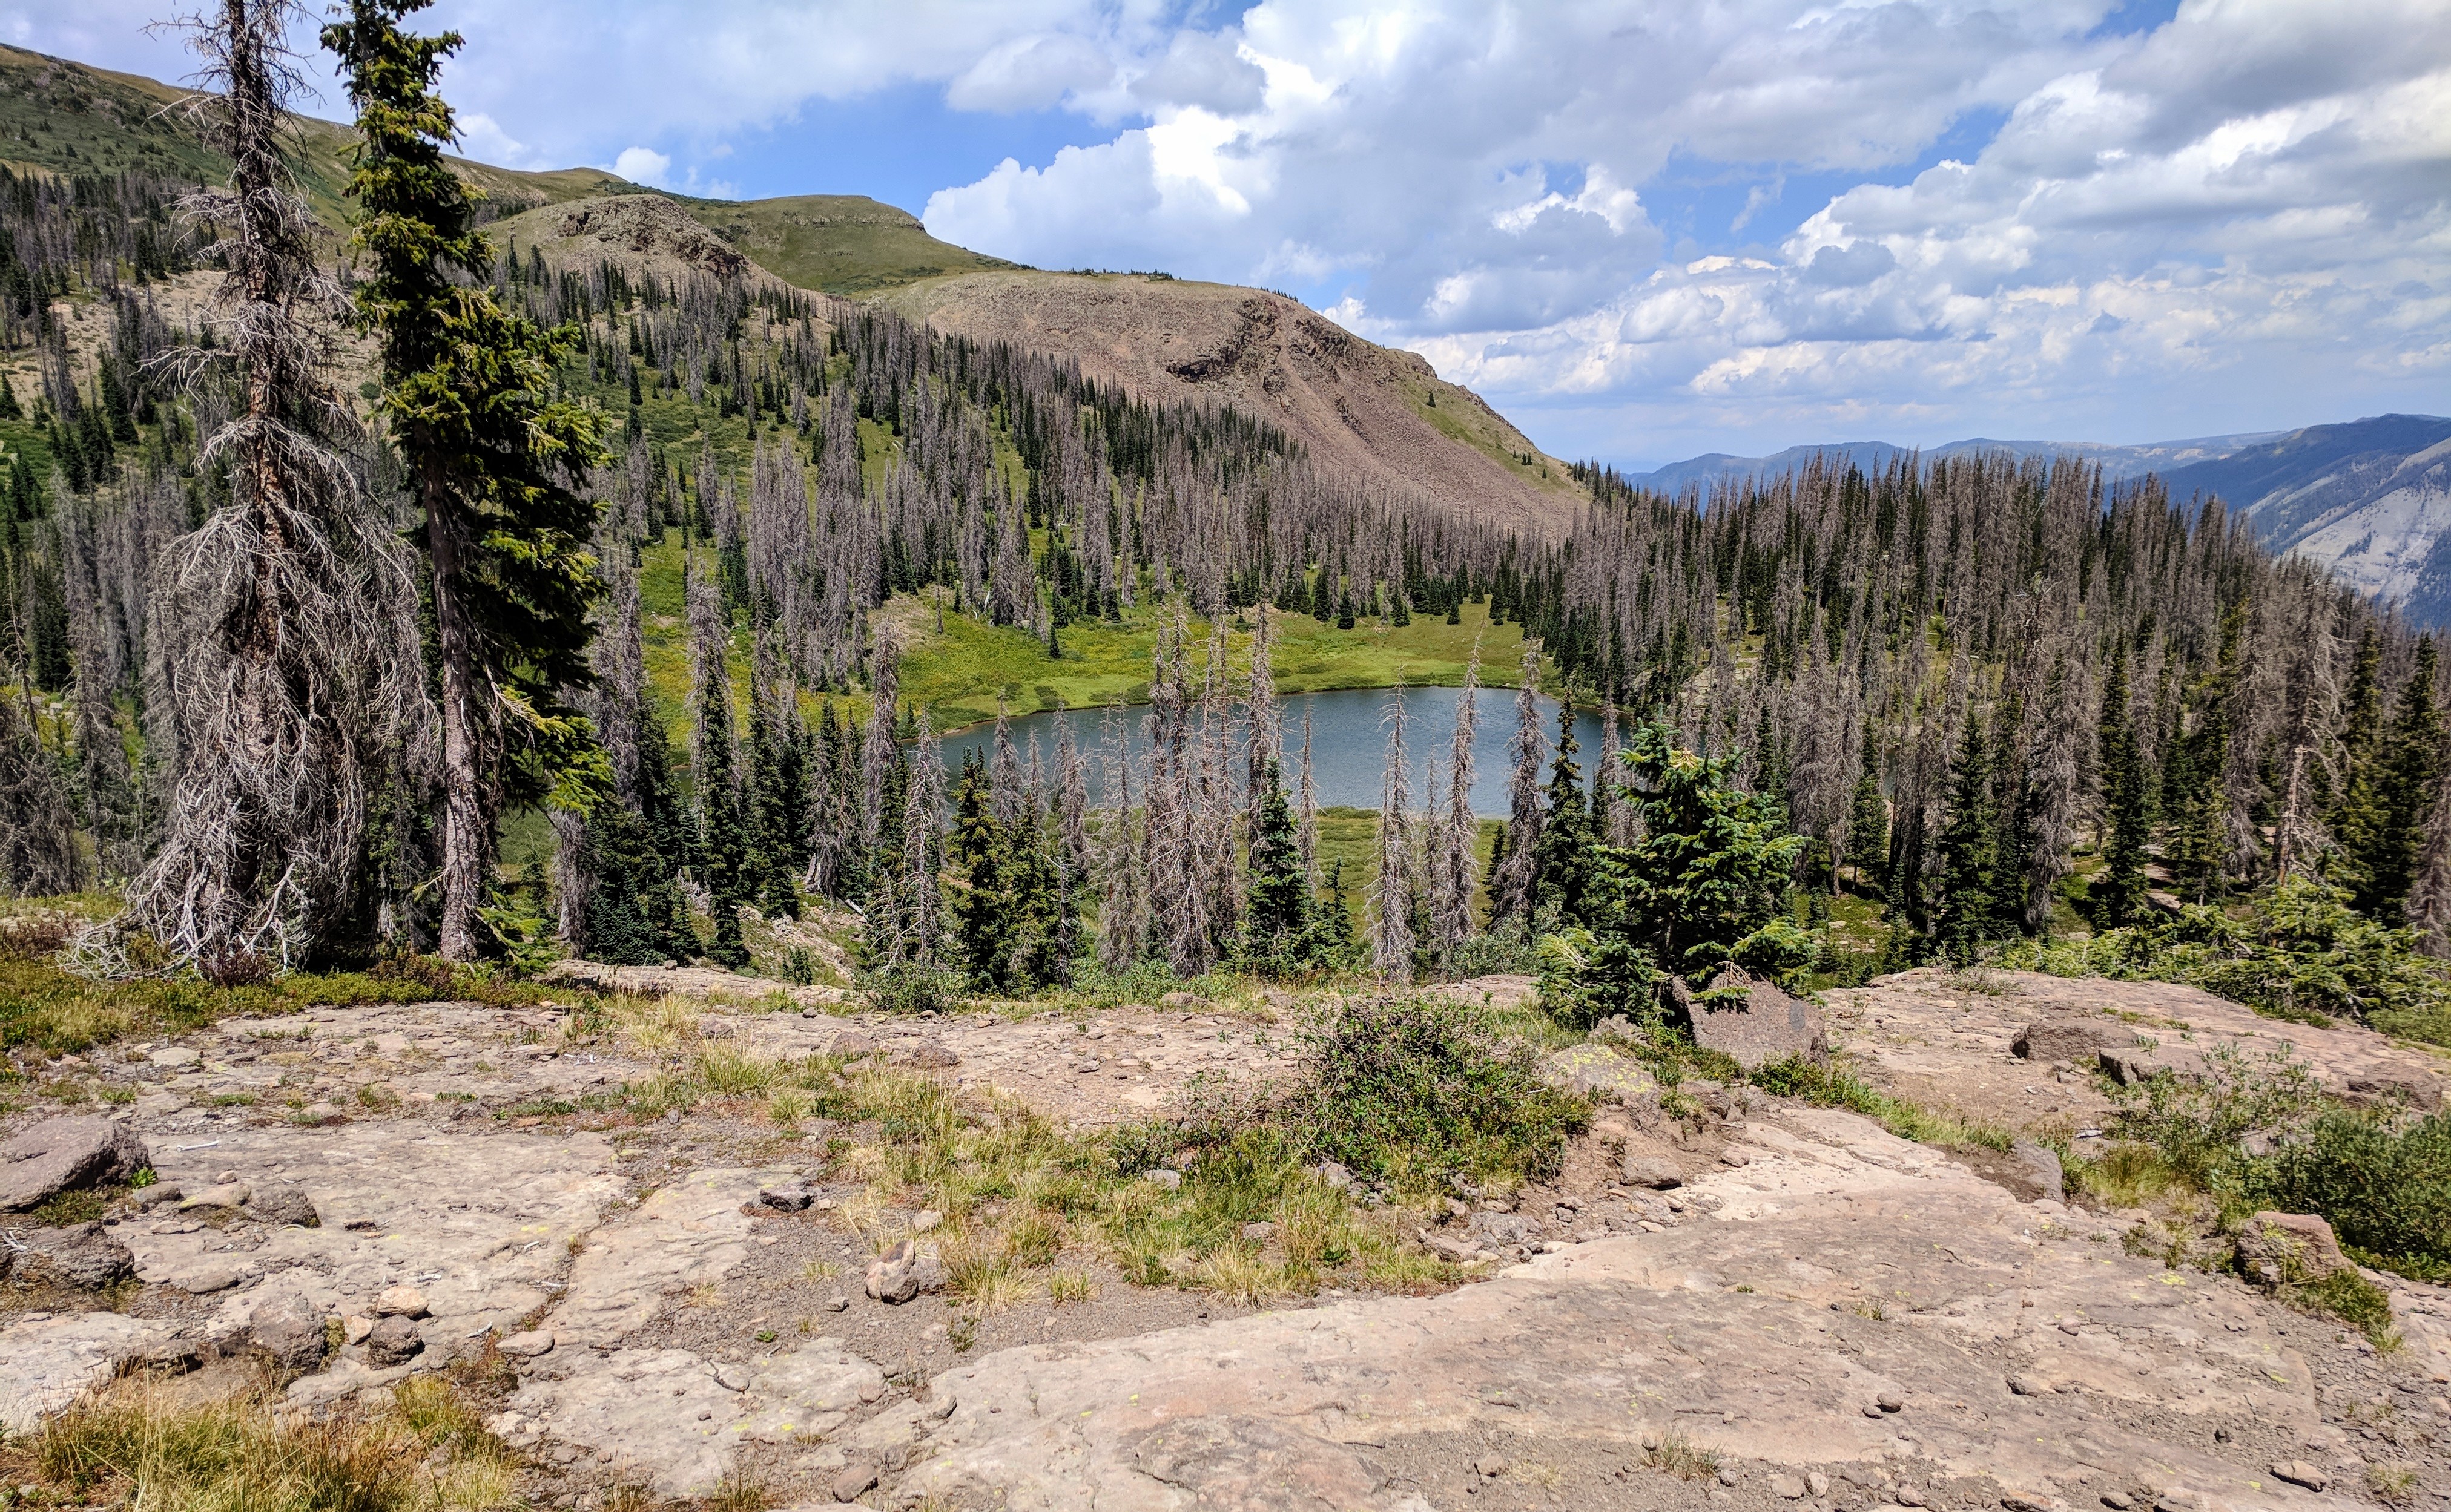
One of the first views of Quartz Lake on the hike down to the lake itself.
The final descent down to the lake is beautiful, with amazing views of mountains all around. The lake itself is about 11,500 feet in elevation, with plenty of campsites. Several groups were leaving as I arrived, with only one other group at the lake when I got there. I was able to find a nice secluded campsite in a nearby meadow, and I never felt like there were other people.

Home, sweet home for the night at my final campsite. What a view!
Here’s a link to the entire hike on Strava.
The Photography
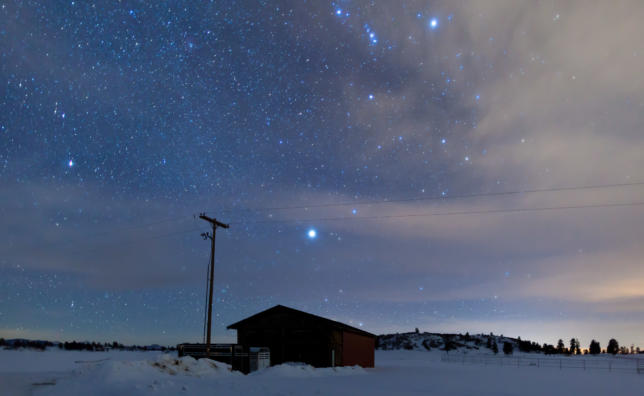
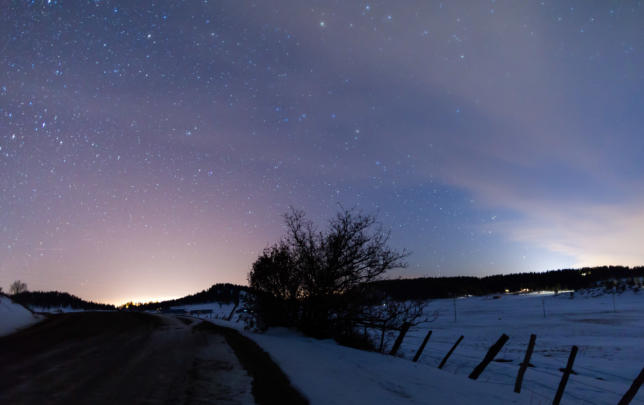
I carried my camera gear with me (so heavy!), and I had three photography goals: photographs at sunset, sunrise, and the Milky Way at night. I intentionally picked my campsite to give me a great view of the sky with the Milky Way, while making it easy for me to find my tent again in the dark. This same location also gave me good views of Sand Mountain in the daylight, and offered me some really incredible photo opportunities.
That said, I realized rather late in the sunset that the best light and color were on the mountains behind me. The trees made it impossible for me to get a clear shot of them, and in retrospect I should have done my sunset photos about a half mile back up the trail where I could get a clearer view of the mountains beyond the trees. However, by the time I made this realization, it was too late.
So far the photos look promising, although it will take me my usual forever to get any of them ready for publishing. Look for them here in the future.
The Backpacking and Camping
A few observations on the backpacking and camping:
First, my backpack was heavy – too heavy. Most of the weight was my camera gear, and I have realized that I need to get lighter gear before I do this again. That said, ultralight backpacking can get expensive – especially when trying to lighten camera gear. I have ideas about how to improve this that may save me a lot of weight for the future, but I’m going to have to think hard about how much money I really want to spend.
Second, I was otherwise well packed. I had everything I needed, and very little of what I didn’t need. There were a few things that I could have gotten by without, but I was otherwise well prepared.
One of the things I carried that did turn out to be a waste was a borrowed SteriPEN for treating water. On paper, this thing sounds amazing: fill up your bottle with some unclean water, put the pen inside it for 45 seconds, let it light up and do its thing, and then clean water! I had tested it before leaving the house, and even made sure it had fresh batteries; but once on the mountain, it just did not work. When I activated it, the SteriPEN simply blinked a frowny face on the display and then shutoff never to turn back on. Fortunately, I was also carrying tried and true Potable Aqua chlorine dioxide tablets. They’re light, compact, and generally just work. I carried in three liters of water, and then made another three at the campsite without any problems.
Third, I used hiking poles which turned out to be essential. I never use them on day hikes, but I gained a whole new perspective when I had a heavy pack on my back. The poles let me use my upper body to assist in climbing, kept me upright when I slipped, and let me shift my center of gravity on tricky downhill stretches without falling over. These are definitely must-have equipment for me on future backpacking trips.

A Google Earth map showing the GPS track for my hike to Quartz Lake.

A backside view of the hiking trail, showing Quartz Lake nestled in the mountains.
Summary
This was a great experience, and I’m glad I was able to take it. I had not been properly backpacking in years, and I had never done it solo before. Now that I’ve tried it, I’m really looking forward to doing it again.
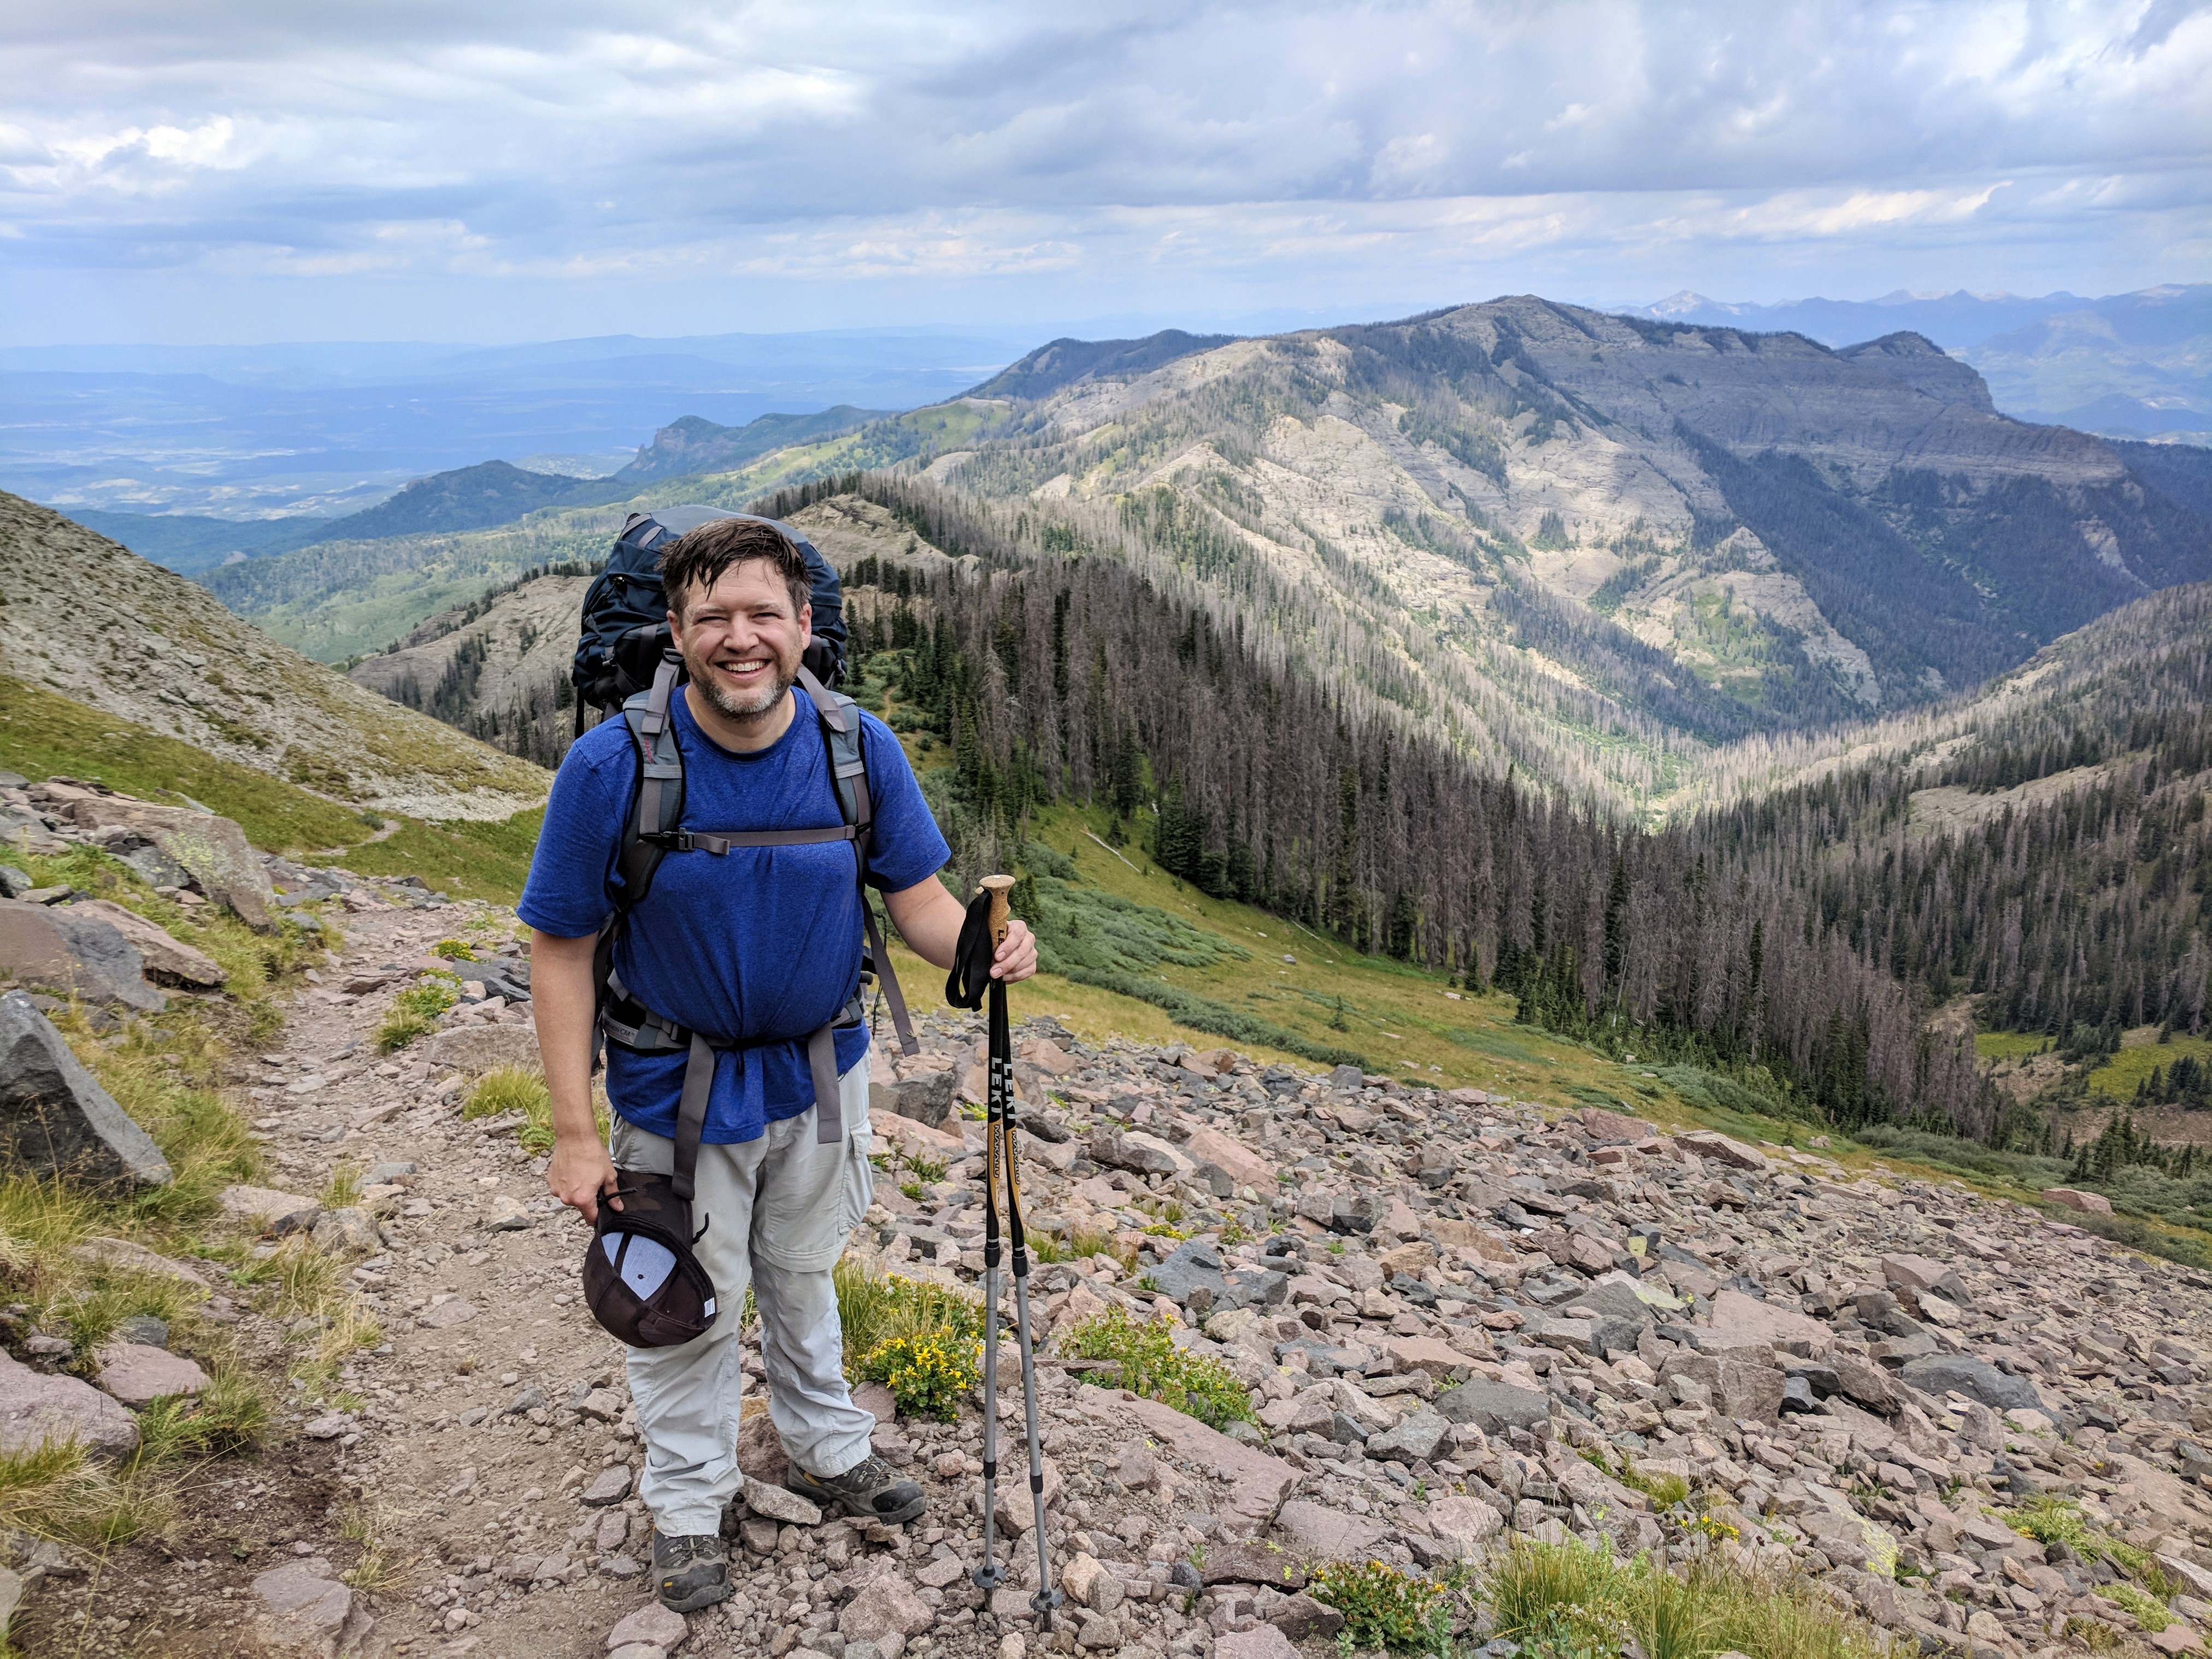
Me, on the trail – taken by another hiker coming down from the window.
We are heading out to backpack to Quartz Lake soon and your trip report is invaluable. Thank you for sharing.